
ブログに慣れてきたので、今日から英語を併記して世界の人々にも発信していこうと思います!
伝統的な金継ぎが学べる金継ぎ教室に通ってはや16日目。
Today, I’m writing blogs in English as well to let non-Japanese know Kintsugi 🙂
It’s been 16 times since I started learning the traditional Kintsugi lessons.
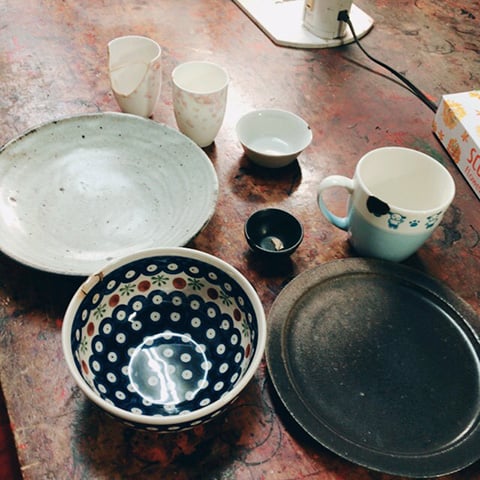
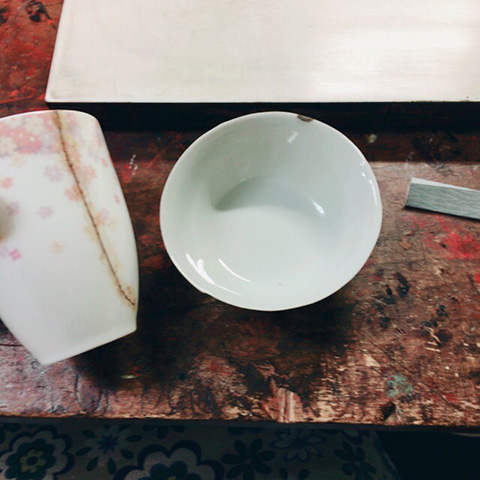
今日金継ぎするお皿たち Earthenware I’m gonna do Kintsugi
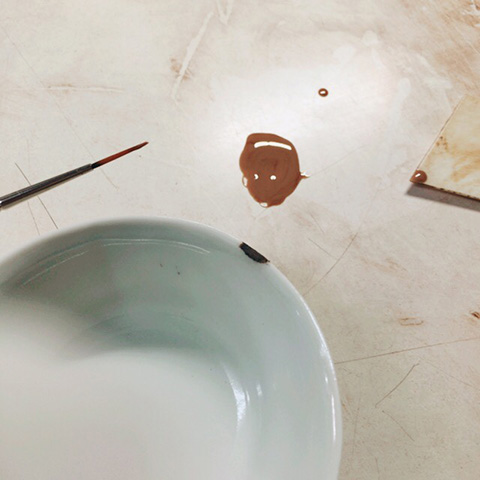
接着 – Adhesion with glue

上新粉でできた「のり」に小麦粉を加えて混ぜ、そこに同量の生漆を混ぜます。これでできたものを「麦うるし」と言います。麦うるしを割れた面につけて接着し、1週間漆風呂で寝かせます◎
Mix soft wheat-flour with a glue made of glutinous rice flour and water.
Then, add and mix the same volume of Ki-urushi (raw lacquer) on it – this is called “Mugi-urushi” (flour lacquer)
Add Mugi-urushi on the surface of the broken pieces and joint them.
This need to kept in Urushi-buro (place which is humid and warm to dry Urushi) for a week.
刻苧(こくそ)埋め – Filling with Kokuso
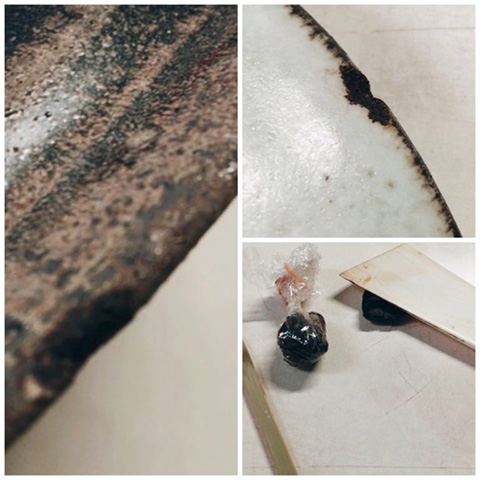
刻苧の作り方は、麦うるしに三辺地粉60%、木粉50%、刻苧綿40%を入れて混ぜます。
誰かが作り置きしてくれていたので、それを使って欠けを埋めました~^^
Kokuso is made by mixing the last Mugi-urushi + 60% volume of Sambenzi-ko + 50% Ki-ko + 40% Kokusowata.
Kokuso was already made by someone so I used it to fill gaps.
切子漆を塗る – Painting with Kiriko-urushi –
まずは陶器の表面をサンドべーパーで整えて切子漆作ります!
File the surface of the dried Kokuso on the earthenware and to make Kiriko-urushi!
空研ぎ320番 Sandpaper #320
切子漆作ります!
Make Kiriko-urushi!
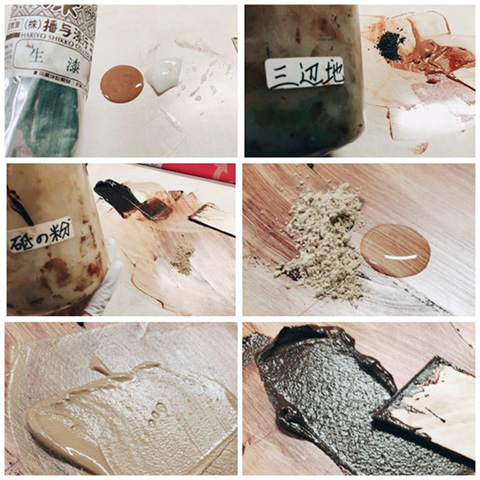
のり漆 – Nori-urushi
上新粉でできているのりと生漆を1:1で混ぜます。
Mix the glue made with glutinous rice flour and Ki-urushi by 1:1
三辺地漆 -Sanbenzi-urushi
のり漆に同量の三辺地粉を加えます。
Mix the same volume of Sanbenzi-urushi and the Nori-urushi.
錆(さび)漆 – Sabi-urushi
砥の粉(とのこ)を三辺地漆の半分の量、別の場所に取り、そこに水を適量加えてマヨネーズの固さにします。
そこに同量の生漆を混ぜます。
On the plate, place Tonoko half the volume of Sanbenzi-urushi and add water to Tonoko to create a paste as soft as mayo, afterthat mix the same volume of Ki-urushi to it.
切子(きりこ)漆 - Kiriko-urushi
先ほどの三辺地漆と錆漆を混ぜます。これを切子漆と呼びます。
これを 刻苧を塗って調整した部分に塗ります。
Mix the Sanbenzi-urushi and Sabi-urushi. This is called Kiriko-urushi.
Paint Kiriko-urushi on the filed part on the Kokuso in the earthenware.
生漆をぬる – Painting Ki-urushi
最後に、前回切子漆を塗って乾いた表面をサンドペーパーで調整した上から、生漆を塗ります。
At last of today, paint Ki-urushi on the filed place where Kiriko-urushi was painted and dried last time.
今日はお皿8点でいろんな工程をサクサクこなせました!しかも、日本の伝統工芸金継ぎを英語でブログで書いて説明するのは勉強になります!
海外にもこの楽しさを発信していきます♪
Today, I could experience many processes of Kintsugi with eight earthenware, yay!
Besides, it is very helpful to learn how to explain one of Japanese traditional craftsmanship, Kintsugi by writing on this blog!
I’m happy to introduce this excitement to the world♪
コメント